A little tutorial on making your own moulds (molds) from which you can cheaply make duplicate waxes for the "Lost Wax Casting Process"
It all starts with you wax model. I hand carved the little textured heart. This was then attached to a sprue. For those who don't know, the "Sprue" is the branch to which the wax model is attached.

Here is a close up of the homemade mould box.
These are simple to make. I just cut 3mm acrylic sheet to my required size. I use little triangles underneath to re-inforce the structure and a little block with a hole drilled in the middle, into which you can insert your sprue.

The sides ate then attached with some large elastic bands. The top of this little homemade box is left open.


You need some very accurate scales. These scales above are accurate to 0.1g.
Foe my mould box I need about 90g worth of rubber. I use this silicone , two part mixture. I use paper cups to mix in, so I can just throw them away. I weigh out 90g of the liquid rubber from the tin. The hardener is added at 20:1 ratio. So 5% is required. I slowly measure in 4.5g in weight.
This stuff will start to set in 20 mins, so you need to act fairly fast.
I use an old screwdriver to mix the compound until the colour is uniform (above right)


The liquid is then placed into my vacuum chamber. This extracts the air from the liquid. The photos above show the liquid in the chamber starting to bubble. It raises in volume as the air is extracted, then it will suddenly drop back down.
I leave the liquid in the chamber for about 6 mins. Until there is very little bubbling going on.
The liquid has now been de-gassed and when it is poured into the mould , it will make a nice solid lump of rubber.


Thsi liquid is now poured into the waiting mould case. You require the rubber to cover the model so that there is at least 1cm of rubber on all sides of the model.
The silicone will now cure over night and in the morning will be ready to be worked further.


In the morning the elastic bands are removed and the sides of the mould. With a little wiggle, the mould will now come out of the mould box.
The image above right, now shows the solid rubber mould has been cut open. I use a simple , very sharp scalpel blade. It really isn't rocket science, but just be careful as you don't want to cut your fingers.
Cut down the sides of the rubber mould, You want to split it nicely into two. Follow the sprue down to the model , then just cut around the middle of the model until it can be easily freed.
On the above mould you can also see that I cut two "buttons". These help to locate the mould back into place when you close it togeter.
I leave the back of the mould uncut, so it acts as a hinge. This will also ensure that you never lose one of the halves.

Here is the low tech wax injector, otherwise known as a cheap syringe.
I melt some injection wax (special wax that has great properties for flowing into moulds in a liquid state.)
I simply put a small amount into a heat proof jug and microwave. This wax melts at about 70 deg c.
As you work, using this method, the wax starts to cool and starts to set. So just keep popping it back into the microwave. Just be careful as it is hot enough to scald.
With the wax at the correct temp. I simply such up a small amount and , holding the mould in one hand. Inject the liquid wax into the mould.
You get a feel for doing it after a while and this method can produce fabulous waxes.
Wait for the wax to cool in the mould (1-2 mins), then open up and remove the "new" wax.
If it is perfect, pat yourself on the back, if it is a bad one, pop it back into the melted wax jug and do another.
Typically 60% of mine come out perfect, but it is so quick to make another that I don't mind.

I would normally be holding the mould with my other hand, but I didn't have any one to take the photos!!!!!

Here is the finished cast piece.
Polished and oxidised.
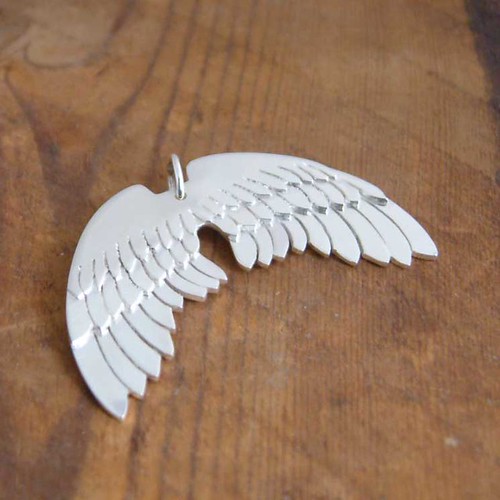


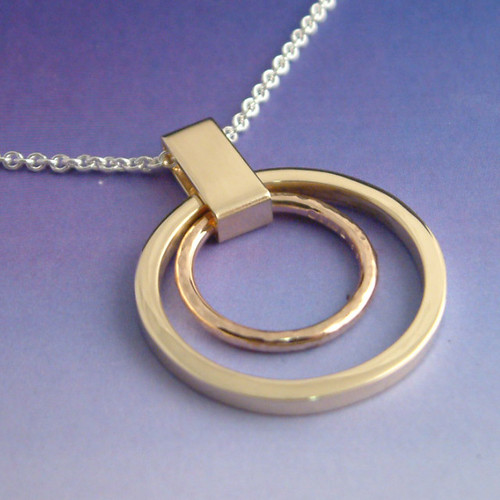

 Some stunning pieces and you can now have them personalised. So pop by and have a look at 88words Etsy shop.


 Here is the low tech wax injector, otherwise known as a cheap syringe.
 Here is the finished cast piece.